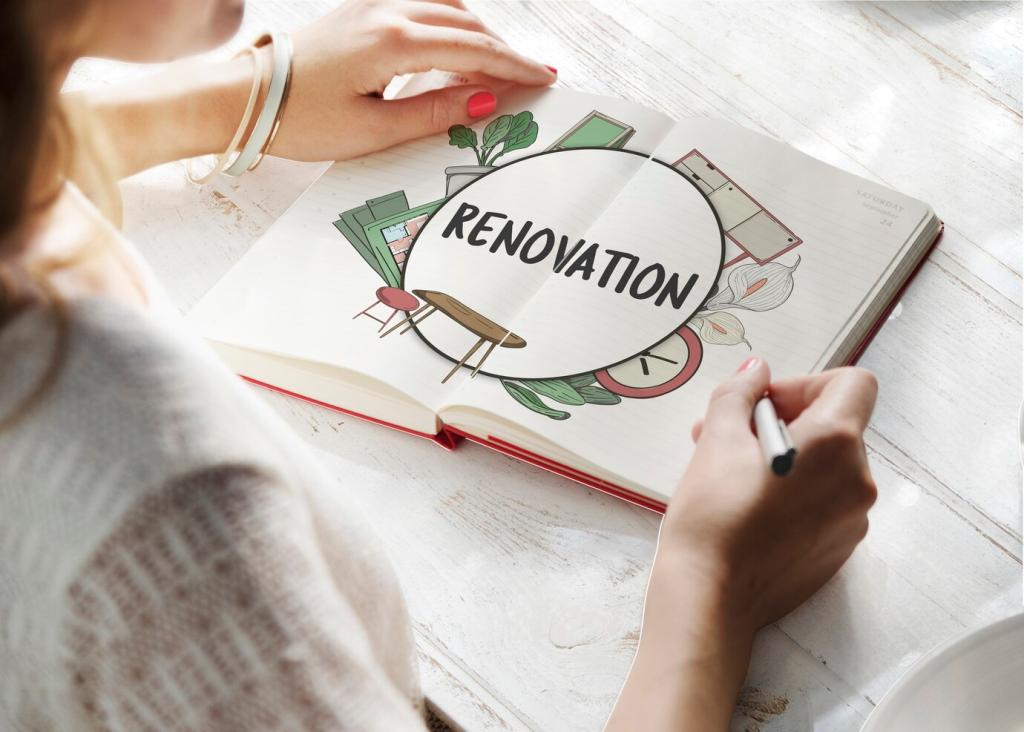
Chosen theme: DIY Repair for Antique Furniture Scratches. Welcome to a hands-on, heart-led guide where small, careful repairs revive character without erasing time. Learn practical, reversible techniques and share your progress so fellow caretakers can cheer you on and learn alongside you.
Test discreetly: a drop of denatured alcohol softens shellac, lacquer thinner affects lacquer, while varnish resists both. Always spot-test in a hidden area, work slowly, and note any color transfer on your cotton pad before selecting your scratch-repair approach.
Use a soft brush and microfiber cloth to lift abrasive grit that can worsen scratches during repair. Follow with a barely damp cloth containing a drop of mild soap if appropriate, then dry immediately. Comment with your wood species; we can tailor prep advice.
Spot-test solvents to chase silicone
Silicone polishes cause craters and poor adhesion. Lightly wipe with naphtha or mineral spirits, testing first to avoid color lift. If shellac is present, proceed cautiously around alcohol. Repeat gentle passes rather than scrubbing to prepare for subtle scratch blending.
Paste wax and a hint of warmth
Apply a thin layer of quality paste wax, let it haze, then buff with soft cotton. A few seconds of gentle hairdryer warmth can help wax settle into micro-scratches. Keep heat low and moving. Show us your before-and-after; celebrate small victories.
Color-in layers, not heavy paint
Use touch-up markers or wax pencils in two or three tones. Start lighter, then add darker streaks to mimic grain. Quickly feather with a cotton swab, removing excess across the grain. Practice on scrap first, and share your shade combinations for community feedback.
French-polish pad for whisper-thin blending
A tiny pad charged with a very light cut of shellac can float over scuffed areas, restoring clarity and sheen. Use minimal pressure, minute circles, and a trace of oil as lubricant. Pause often, assess in raking light, and subscribe for our advanced pad recipes.
Rub Out, Sheen Match, and Final Protection
Observe reflections. If the surrounding area scatters light, aim for satin or matte. Adjust with super-fine abrasives or pumice to lower gloss, and micro-buff to raise it. Share your sheen target in comments; we can suggest grit and technique combinations.
Rub Out, Sheen Match, and Final Protection
With a felt pad and a few drops of mineral oil, rub in tight circles using pumice to level, then rottenstone to refine. Keep to the repair zone, frequently wipe, and stop early. Patience prevents accidental flattening of beautiful antique figure and edges.
Stories from the Workshop: Scratches That Told a Story
The walnut desk and the inkwell score
A century-old walnut desk bore a diagonal scratch from a toppled inkwell. We layered shellac within the cut, glazed warmth back into the track, and waxed. The owner wept softly; the blemish softened, the memory remained. Share your heirloom stories below.
Grandma’s rocker, rescued from guitar practice
A teenager’s pick carved lines into a rocker’s arm. Hard wax fill, subtle grain penciling, and a satin rub-out calmed the scars. The family kept one small mark visible as a timeline. Tell us which marks you keep—and why they matter to you.
A community of caretakers
Your experiences teach others. Post photos under daylight, note finish type and tools used, and describe what worked. Subscribe for monthly highlights; we feature thoughtful scratch repairs that balance honesty and beauty, inspiring gentle stewardship across generations.
When to Pause DIY and Call Expertise
If your antique has documented history or appraisal, consult a conservator before any scratch repair. Even a harmless-looking touch-up can affect value. Share your concerns; we can suggest questions to ask professionals and help evaluate low-risk, reversible options.
When to Pause DIY and Call Expertise
Watch for finish blushing, cratering from silicone, dye bleeding on your pad, or lifting veneer edges. If any appear, stop immediately. Take clear photos, note materials used, and ask the community for guidance before proceeding further on your antique furniture scratches.