
Selected theme: How to Polish Antique Metal Fixtures. Welcome to a friendly, hands-on guide that helps you revive timeworn luster while honoring patina, story, and value. Stay with us, ask questions, and subscribe for more thoughtful care tips shaped by real homes and real history.
Know Your Metal and Finish
Use clues like color, weight, and magnetism to identify the base metal. Brass is warm yellow, bronze is browner, copper glows red, nickel looks cool and silvery. A magnet may cling to iron or steel, not to brass or copper. Share a photo in comments if unsure.
Know Your Metal and Finish
Many antique fixtures were lacquered, shellacked, or deliberately toned to achieve a mellow look. Over-polishing risks stripping historic finishes that collectors cherish. Aim to clean gently first and polish minimally, preserving character. When in doubt, test and pause—your restraint can protect a century of stories.


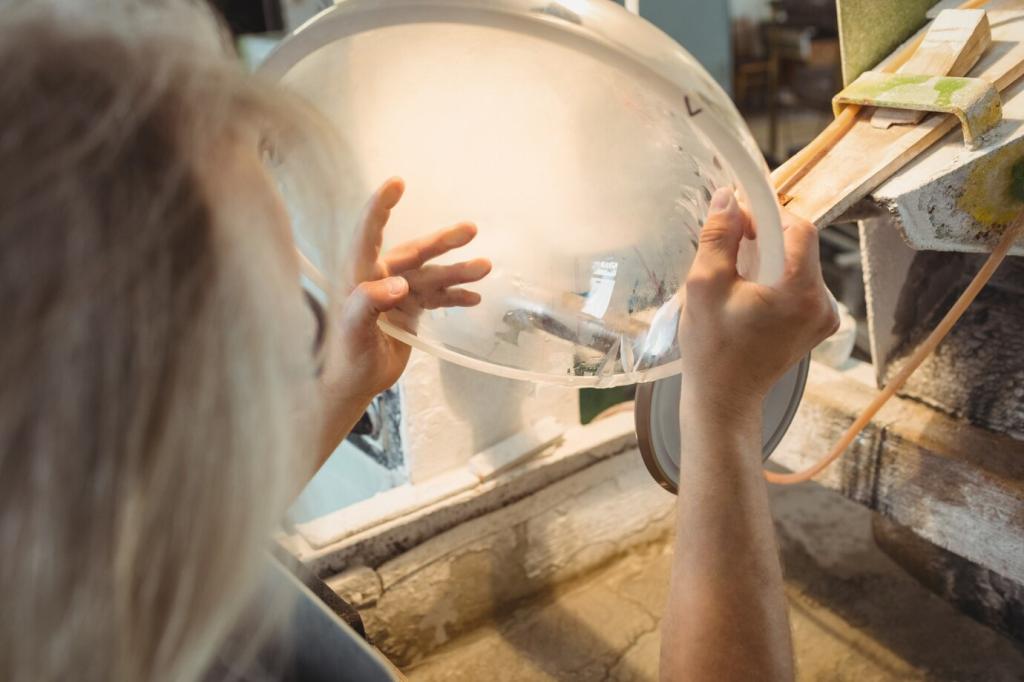
Gentle Tools and Materials That Respect Age
Start with microfiber cloths, cotton swabs, and a tiny drop of pH-neutral soap in distilled water. This simple combo removes grime safely and often reveals enough glow. Pat dry immediately to prevent water spots, then buff lightly with a clean, soft cloth.
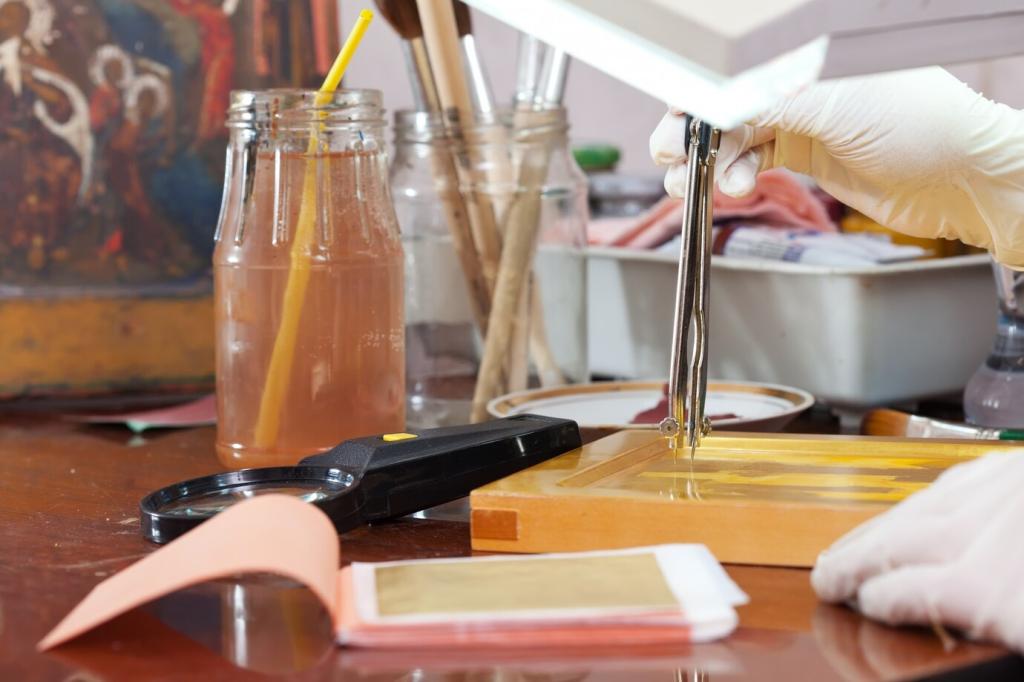
A Conservator-Inspired Polishing Process
Turn off power to electrical fixtures, remove pieces if possible, and protect surrounding wood or stone with painter’s tape and soft towels. Wear nitrile gloves and work in good ventilation. A padded surface prevents dents, while small trays keep screws and finials organized.
When Fixtures Are Lacquered or Plated
Look for an even, glassy layer that resists tarnish, or test an inconspicuous spot with a cotton swab lightly moistened with acetone. If the swab picks up color or the surface softens, old lacquer may be failing. Clean gently, then consider professional lacquer removal if it is heavily degraded.
When Fixtures Are Lacquered or Plated
Plating can be very thin. Prioritize soap-and-water cleaning, then a gentle, non-abrasive polish used sparingly. If you see dark base metal peeking through, stop immediately. It is better to live with a few marks than to polish through an irreplaceable finish.
Patina, Provenance, and Value
Patina forms slowly as metals react with air, touch, and time. Museums often preserve it because it testifies to use and craftsmanship. Aim for clean, not new; gentle brightness, not complete erasure. Leave softened edges and old tool marks intact—they are the fixture’s fingerprint.

Patina, Provenance, and Value
A restorer found a dull, brown brass doorknob in a grandmother’s hallway. Instead of stripping it bright, she cleaned it softly and waxed it. Under the grime, a warm glow emerged, along with faint initials. The family kept the mark—and a tangible link to their past.
Troubleshooting Stains, Spots, and Corrosion
That green-blue blush is copper salts. Gently soften with a damp cotton swab and carefully lift with wooden picks or a soft brush. Avoid harsh acids. Once removed, neutralize with a distilled-water swab, dry thoroughly, and seal with wax to slow its return.

Make the Shine Last: Routine and Community
Dust weekly with a dry microfiber cloth. Once a month, lightly buff to refresh glow. Re-wax high-touch pieces every three to six months. Control humidity if possible, and keep harsh cleaners away. Small habits save big restorations later.
Make the Shine Last: Routine and Community
Take before-and-after photos and keep a care log with dates and products used. This record helps troubleshoot and guides future owners. Post your progress in the comments, and subscribe for seasonal checklists that make upkeep easy and satisfying.